In iphones if the battery is not giving an appropriate service time always show the red sign or power run out then you must change the battery of your smart phone. In iphone 3G, iphone 3GS changing the battery is not that simple as it sounds or like other phones. For changing the battery you must have proper tools and expertise of doing the task. Following are the tools list you must have for it accompanied by the steps involved in the battery changing. Please note that all steps need accuracy and delicacy too so it is recommended to go to an expert for this rather than doing it at home.
For all your repairs you need:
- A sad iPhone 3G or 3GS
- A new battery
- A #00 Phillips screwdriver
- A suction cup
- A pry tool or Spurger
- Sim removal tool or paperclip
Following are the steps involved in changing the battery of an iphone:
1. Power off your iPhone
2. Remove the dock connector screws
3. Remove the digitizer & LCD assembly
- Remove the cables that attach the digitizer assembly to the logic board
5. Remove your SIM card
6. Unclip cables from the logic board
7. Remove your logic board
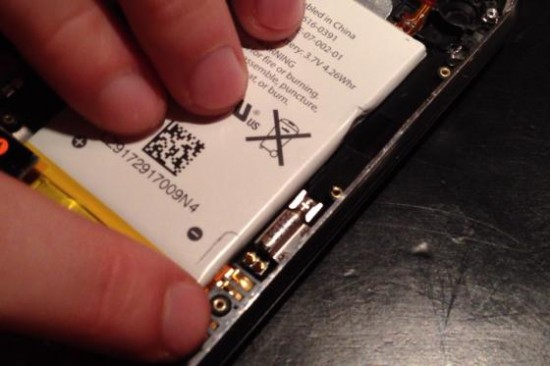
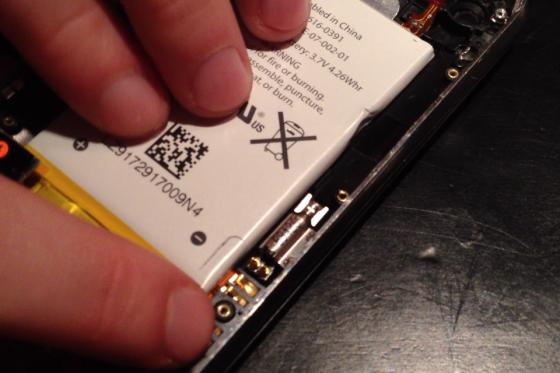
8. Remove the old battery
9. Insert the new battery
10. Replace the logic board
11. Insert your SIM card and tray
12. Reposition and snap down your camera
13. Replace the logic board screws
14. Reconnect cables to the logic board
15. Reassemble the digitizer and… done!
If you followed all the steps above correctly you should be able to power on your phone and be on your way!


